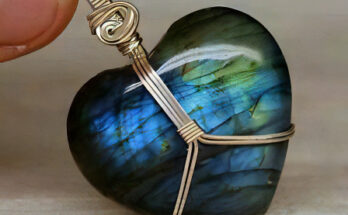
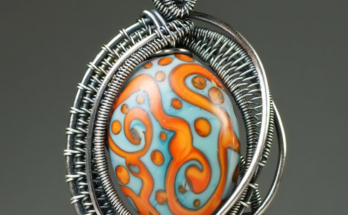
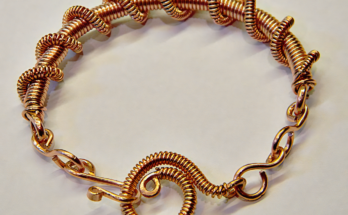
These pendants showcase beautifully intricate wire-wrapping techniques with gemstone focal points. Each design highlights unique details and patterns that complement the natural beauty of the stones. Here’s a breakdown of how to create a similar style for these pieces:
General Materials Needed:
- Wire:
- 18-gauge or 20-gauge wire for the frame.
- 26- or 28-gauge wire for detailed wrapping.
- Gemstones:
- Iridescent or cabochon stones (e.g., labradorite, cat’s eye).
- Tools:
- Wire cutters.
- Round-nose pliers.
- Flat-nose pliers.
- Nylon-jaw pliers (optional, to avoid scratches).
Pendant 1: Heart-Shaped Labradorite
- Frame the Stone:
- Create a heart-shaped frame using 18-gauge wire, conforming closely to the stone’s edges.
- Secure the stone within the frame using thin wire, wrapping it around the base.
- Decorative Scrolls:
- Form flowing scroll shapes using round-nose pliers to mimic vines or leaves.
- Attach these to the frame for an organic look.
- Finish with a Bail:
- Create a wrapped loop at the top for attaching the chain.
Pendant 2: Teardrop Cat’s Eye
- Shape the Teardrop Frame:
- Bend a length of 18-gauge wire into a teardrop shape, leaving room for decorative details.
- Weave and Embellish:
- Use the thin wire to weave patterns (e.g., ladder or basketweave) along one side of the teardrop.
- Add small beads or metallic accents along the weave.
- Secure the Stone:
- Create small prongs or a bezel with thin wire to hold the stone securely.
- Add Swirls and Beads:
- Create spirals and loops with the frame wire, enhancing the design with beads.
Pendant 3: Statement Oval with Beads
- Frame and Wrap:
- Encase the oval stone with a simple wire loop, and secure it using thin wire.
- Layered Details:
- Build layers of scrolls and small bead clusters around the central stone for depth.
- Combine contrasting wraps (tight coils vs. loose curves).
- Final Touches:
- Attach a decorative bail or integrate the top into the design.
These designs require patience and precision, but they offer endless customization possibilities. If you’d like a tutorial on a specific pendant, let me know!


